Staining the Grain

We had the happiest accident. Our plan was to stain our tiny house a rather loud shade of turquoise. Then we bought a sample of the shade we thought we wanted, and it was kind of awful. So we instead decided to go with lots more natural tones. We are so excited with how the stain is turning out!


staining the grain

stainingthegrain

This has been one of my favorite parts of this process. It’s fun to do, the progress is easy to see and the final shades are turning out beautifully. These photos are making our little tiny house look more and more like a home!


photo (7)

Let There Be Skylights

Man oh man, are skylights a lot of work! Luckily for me, The Artist did most of it while I took a nap in the lawn. Seriously.

But the skylights are one of the best parts of this design. We’ve had the holes cut for some time, but boarded them up to protect the floors since we didn’t have the plexiglass installed. We spent most of the day getting the cedar shakes cut (each one had to be custom done), placing the plexiglass, and getting it sealed with silicone. Phwew! It was exhausting – and sometimes frustrating – but these are going to be one of the highlights when all is said and done!

skylightswoon

#lightitup #greenlight #ohsonice

180 Square Feet: A Review

About a month ago, we moved from the schoolhouse into a tiny cabin. We absolutely loved living in the schoolhouse, but it just isn’t winterproofed quite enough for this very northern climate. And winter is coming. After a quick search, we found a tiny cabin in the town where I work that fit our needs beautifully.

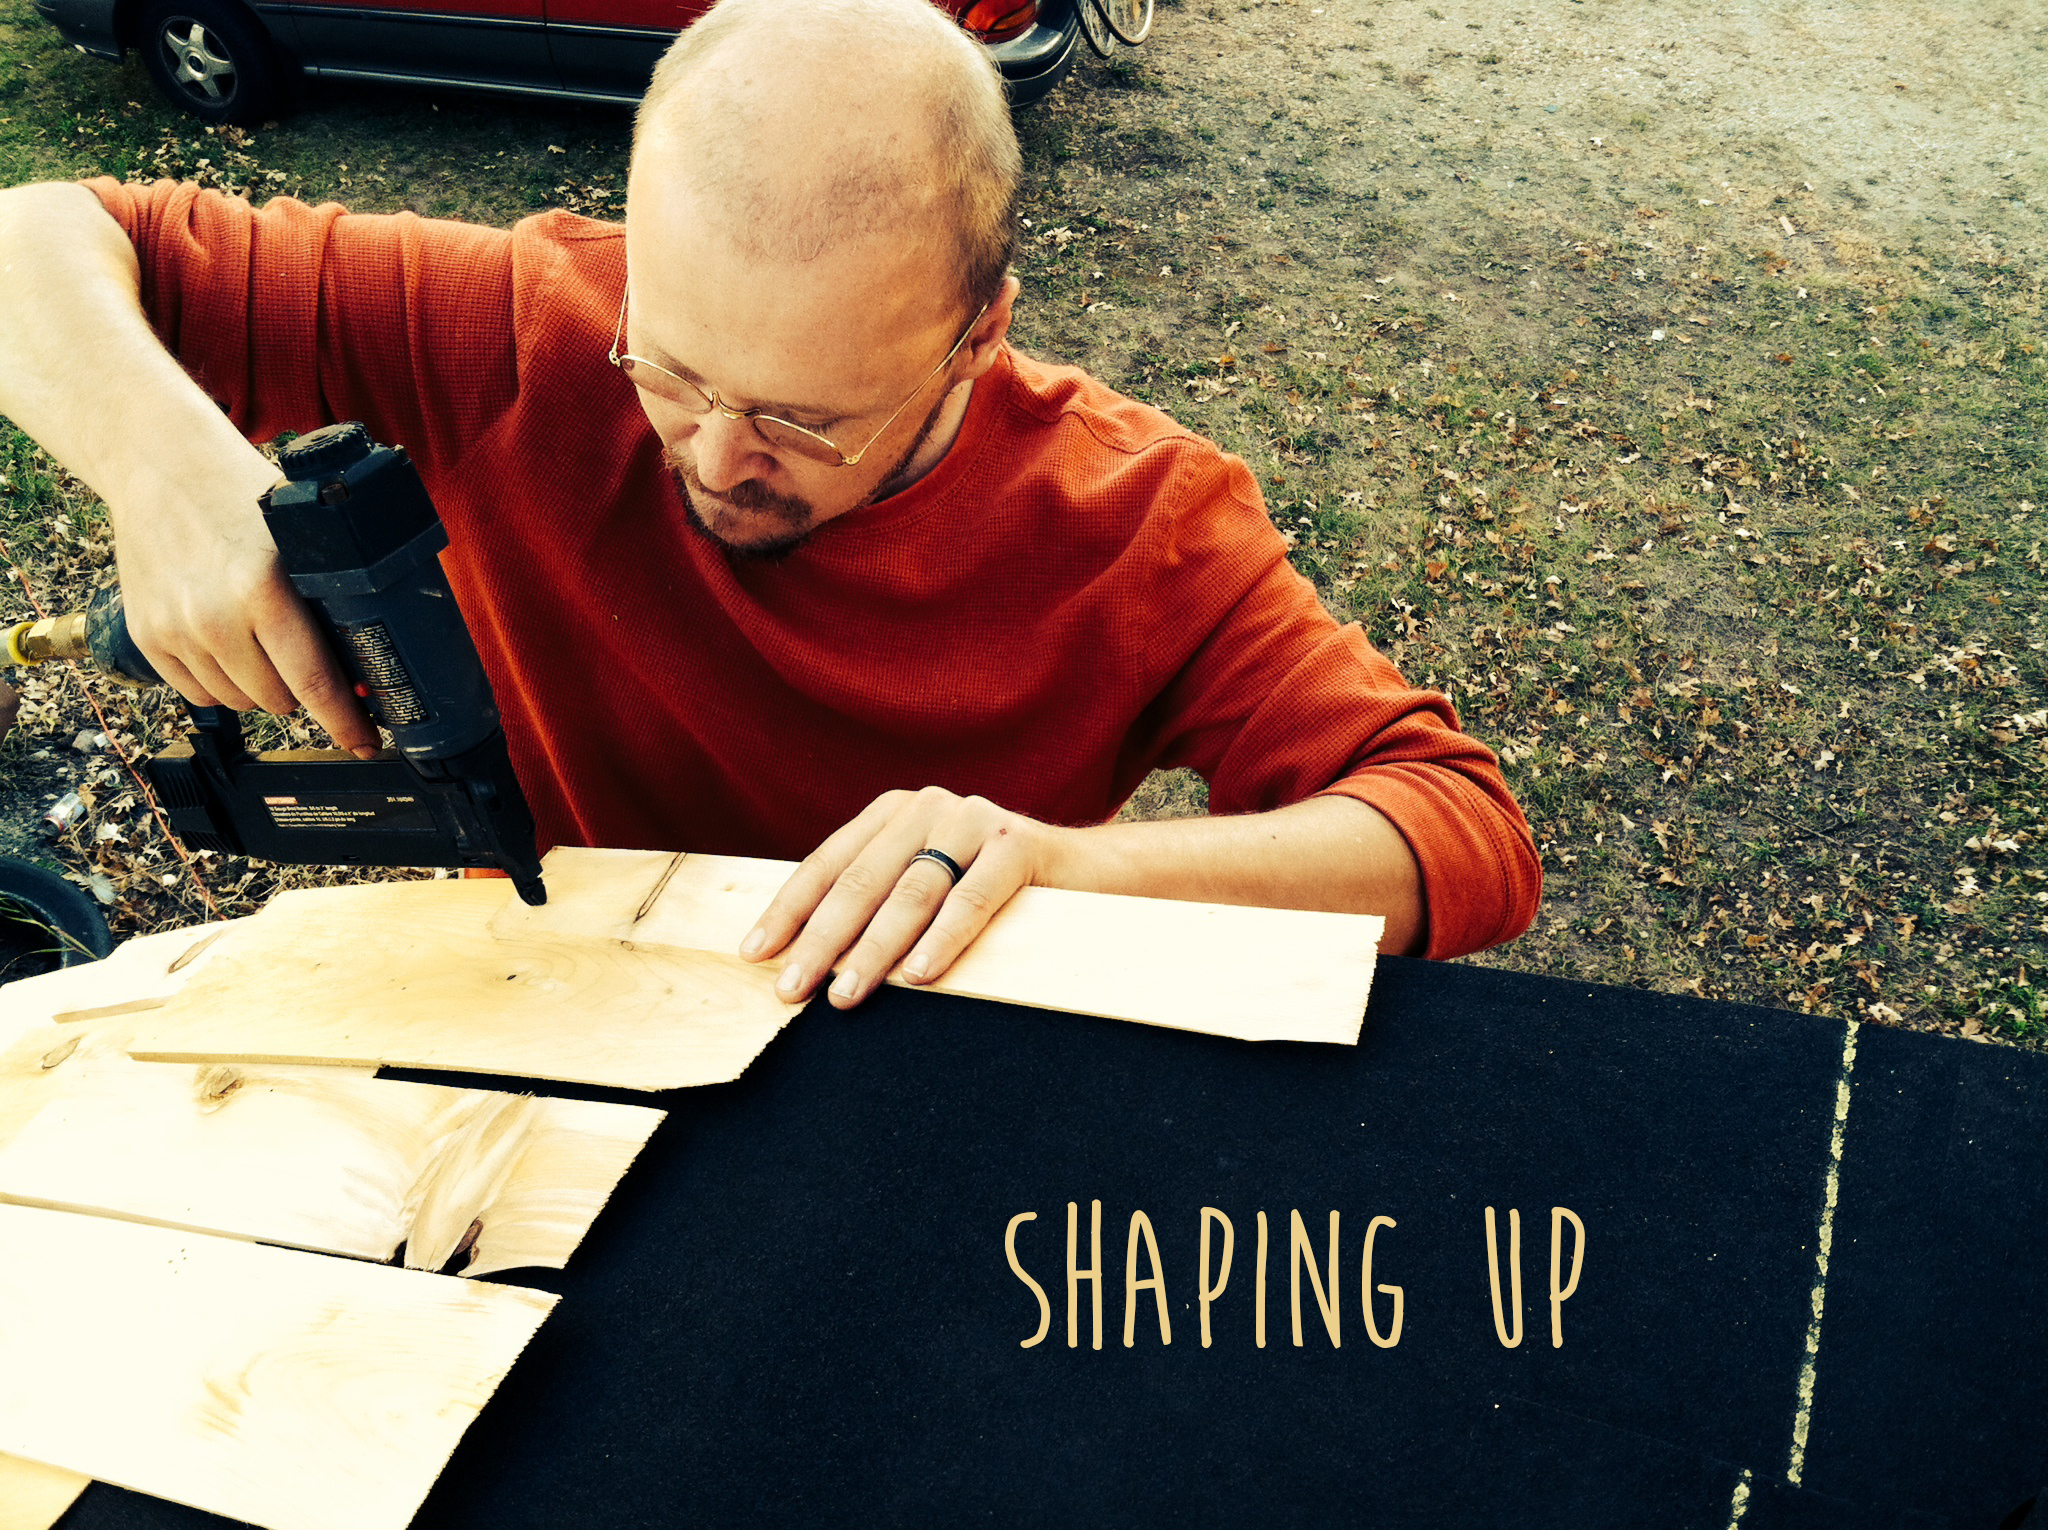
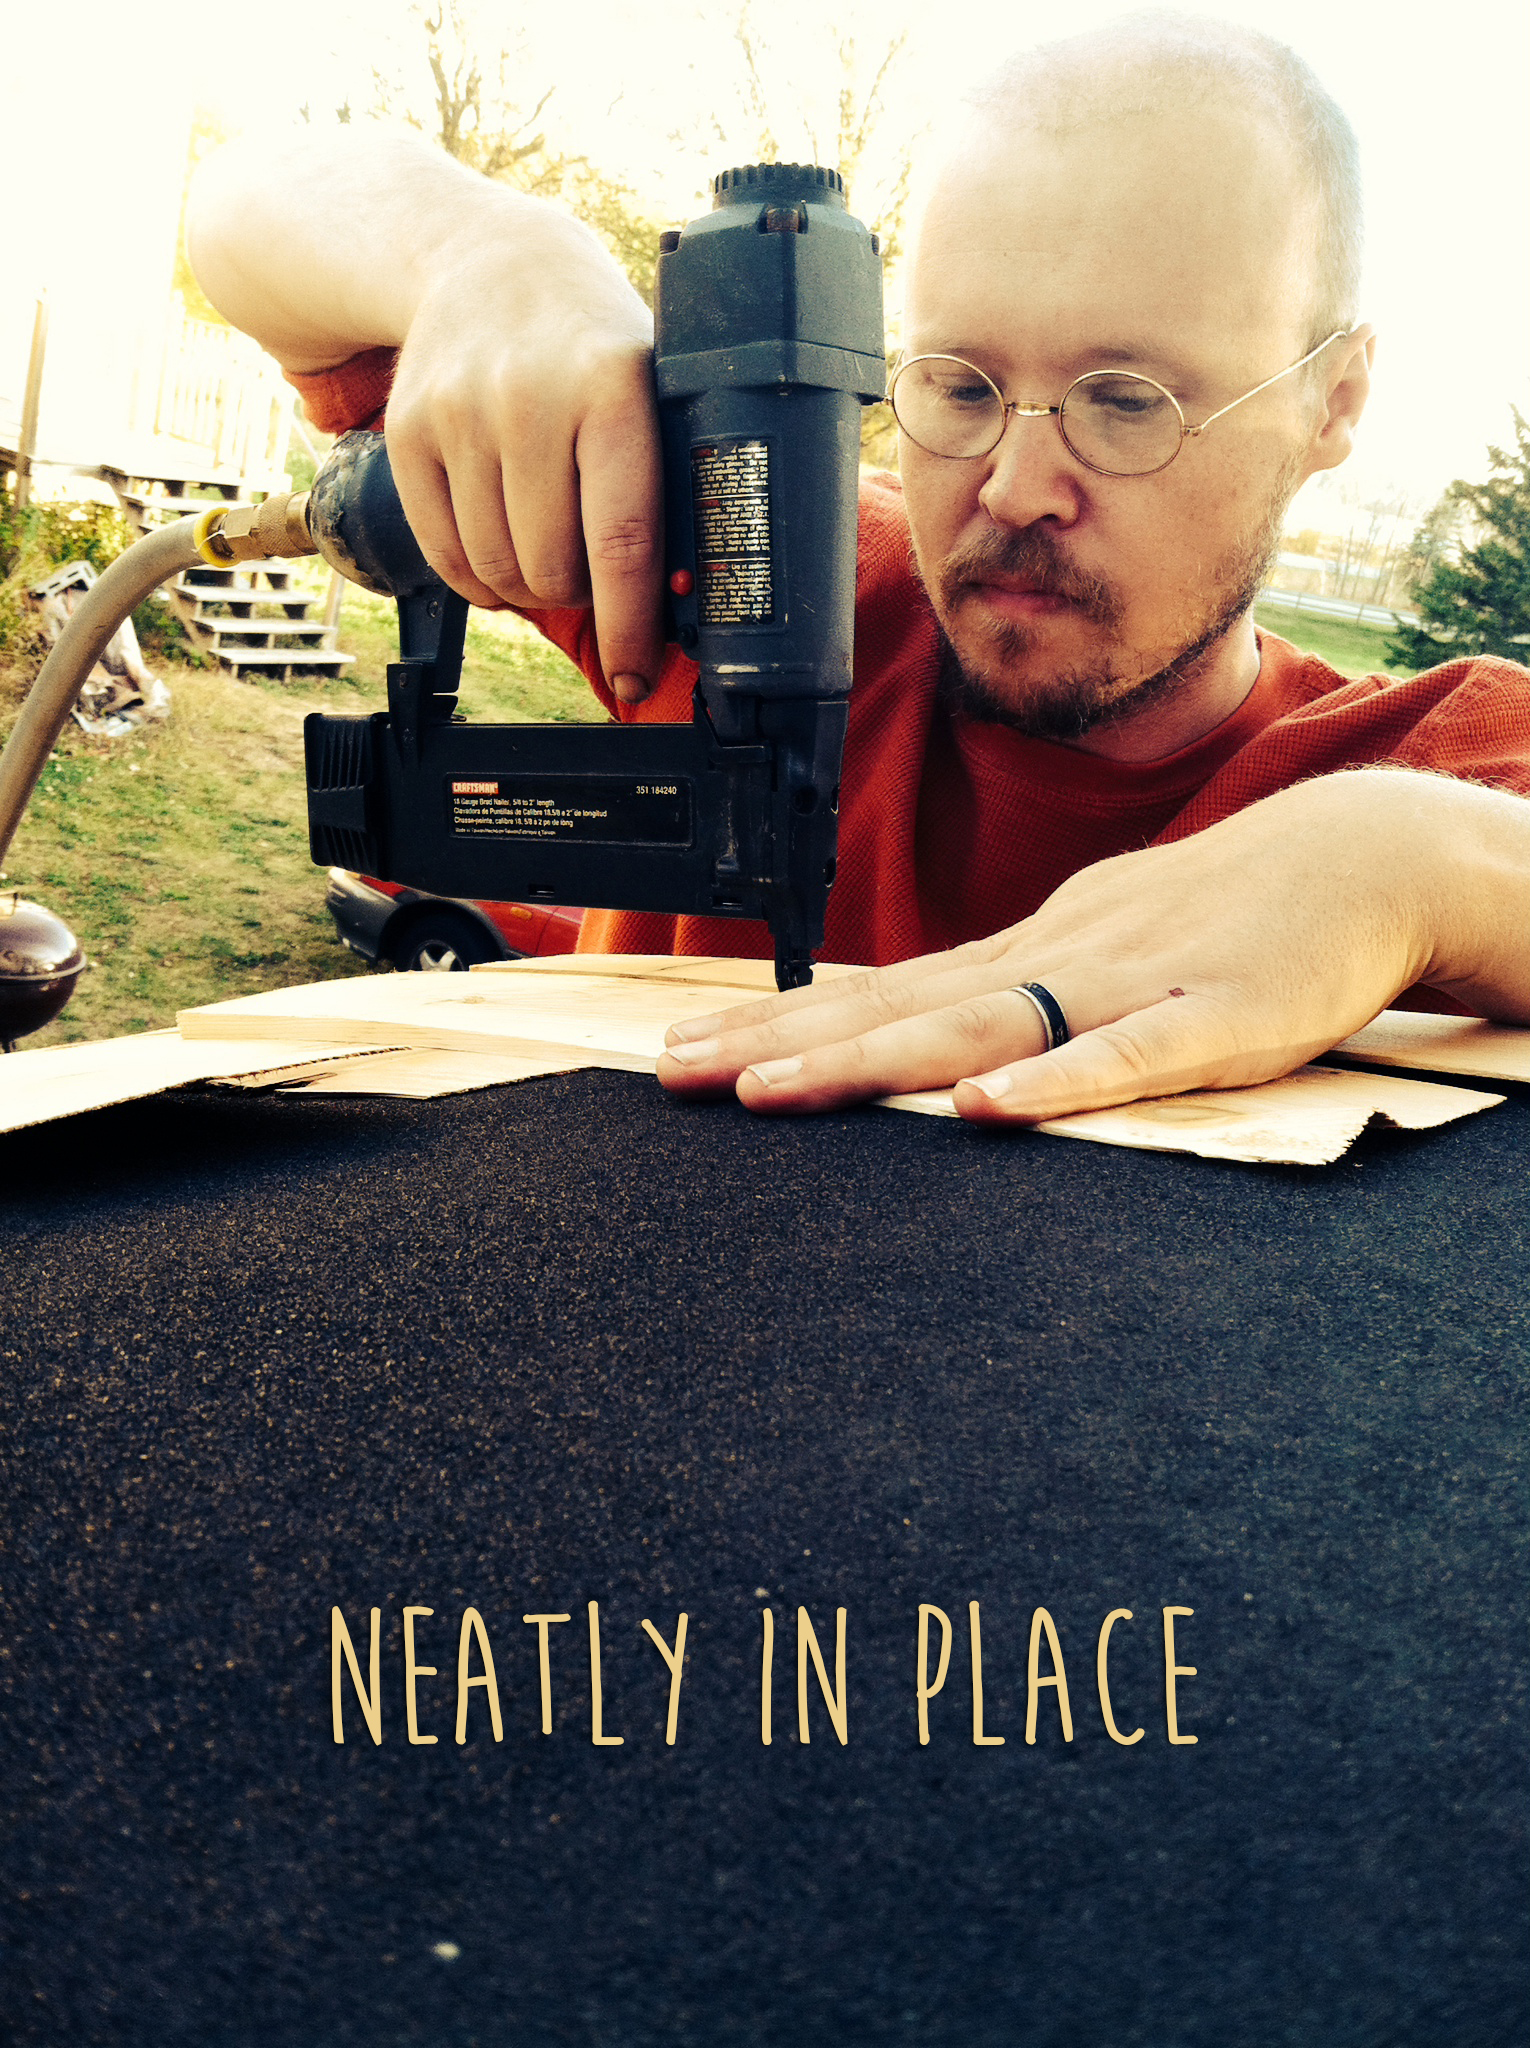
At 180 square feet, our cabin is officially “tiny.” We thought it was probably a good idea to try a very small space and get a sense of what works and what doesn’t. Overall, we actually really like the cabin even though it was built without intentional design. Read: it’s a box. The layout is very different from our sheepwagon, which we know will be more versatile. We have gotten a good sense of what to include in our final design and here are some of our thoughts, in no particular order.

Flow is so important. Square footage wise, we’ll have a similar space. But the flow of the sheepwagon is designed so that we can be cooking, accessing storage areas, sitting on our comfortable spots, or eating at the table all at the same time if necessary. We designed the shape and size of the wagon to accommodate our dining booth (which doubles as storage). Our kitchen area will have enough counter space to cook on, and we won’t have appliances sitting on the counters when they’re not in use. We’ll also have a sitting area “carved into” the main storage area so that a person can sit and read a book undisturbed. Each of these items are all part of the overall flow issues we’ve had in the cabin.

We’ve also been applauding ourselves for building upward. The ceilings in our cabin are very low, and while it makes the place feel very cozy, it feels much smaller than our similarly sized wagon. The added height, although it doesn’t increase square footage, gives a much more open and airy feeling. And with the skylights? Forget about it! To be transparent, we needed to have high ceilings since we’ve chosen to loft our bed. But one of the indirect benefits is the way it opens up the entire home.

Another thing we hadn’t given a lot of thought to was laundry. We’ve both downsized our wardrobes considerably and have thought a lot about closet space. But what to do with dirty laundry is another story altogether. We’re noodling some ideas and we’ll keep you posted, but that was a great realization to make before we’ve begun constructing the inside of our home.

And I think I can say that lighting is the other beef I’ve had with the place. One of my dad’s wise first questions when we moved in was, “How’s the lighting?” He had a feeling it might be a little dim in here, and he’s absolutely right. We’ve added some lamps which certainly help, but in general it’s a pretty dark little space. The Artist has a plan, though, that was baked into the design from the beginning. He’ll be wiring our tiny home with both direct and indirect lighting, and all of it will be on dimmers. We currently have exactly one light in the tiny home, but it’s an overhead that really gives a nice amount of light. We’ll have lighting designed for the dining area, closets, and sleeping loft when all is said and done. And the best part? It’ll all be remote controlled. The Artist can hardly wait.

Life is great in this tiny cabin, even though it’s only a temporary home for us. Being a routine-oriented person (to the point of being almost obsessive, really), I love the lifestyle of living tiny. I cook simple meals one day at a time, we wash up after ourselves right away, and we don’t have clutter around because we just can’t. This afternoon, in fact, we spent some time working on Christmas gifts for our family members, and we just cleaned up as we worked. We have exactly three plates, two bowls, one set of silverware each. We’re not fancy nor frilly, but we have more than enough.


photo (1)
Thanks for being our home, cozy little cabin. You keep us happy!

Steam Bending

I posted about the cedar shakes we had gotten last week, but didn’t really explain the process of adding them to the tiny house. So, please allow me to do so now…

Long before we started building, in a land far away, we did a lot of research on alternative home building. One method we seriously considered is cob building. Cob refers to earthen homes, built with a mixture of clay, straw, sand and water. It’s a very cheap way to build using natural supplies, and the designs can be completely customized. Imagine a life-sized sand castle, but with a little more stability. We ultimately decided against cob, at least for our main home, but all that research led us to steam bent shingles because so many cob homes have them.

Steam bending is pretty self-explanatory, but I had never heard of it before we decided to do it so I thought it was post worthy. There’s more than one way to steam bend a shingle, as they say, but here’s our homegrown method.

We started with a turkey roaster. Just your average, $30 turkey roaster. We flipped the inside rack upside down, put a shake or two at a time onto the rack, added a decent amount of water, and cranked that sucker. You literally steam the shingles, like you would broccoli, until they’re just pliable enough to form to the shape of your roof. Since The Artist created a wonderfully curvy roof, most of the shakes needed to be steamed so they’d conform nicely to the shape without cracking. It’s been a really fascinating process to watch.

steambending1

Even though steam bending is pretty time consuming (since you can only steam a shake or two at a time using an average turkey roaster), I’m glad we went that way. It’s made the entire tiny house look so storybookish and welcoming. And ultimately, that’s what we’re going for

steambending2

steambending3

Cedar Shakes

We’ve got shakes! Cedar shakes. These were one of the “must have” items for The Artist when we started designing this place.

They’re really awesome, even though they can be tricky to install. If you use the wrong kind of nails or even nail gun, you can split them as you go. But the benefits of shakes are pretty awesome. If you use cedar, it’s kind of like having self-treated wood. It has lots of protective qualities without all the chemicals treated woods can have. And it smells awesome. That’s enough for me!

shakeitup

We’re really pleased with the shakes, though, and I think they give the place a homey feel. Since our roof is curved, The Artist used a turkey roaster to steam bend the shakes. They had to be done in small batches which required a lot of patience. (And is precisely why The Artist took on that project and not me.) But the result is so lovely and I can just picture our little sheepwagon parked in the woods somewhere, looking awesome. I’ll post some updated photos when the roof is complete.

We’re very close to being weatherproof now, too. Just a few more steps and we’ll be in business!

#shakeitoff #cedarking #thatsmelltho

Fancy Flourishes

Let’s face it: we’re kind of cheapskates. We like to get a good deal on… well, anything I guess. We do a lot of scavenging in thrift stores, and we found one recently that has an awesome mix of stuff that’s in great shape for a great price.

I found these little treasures for $1, and we’re planning to use them on either side of our closet rods to hold those suckers up.

The Artist is a big fan of fancy flourishes. We also found these lovely pieces of hardware on a vacation we took recently. They’ll be a lovely reminder of that trip for us, too. Then we ordered some hinges that match very nicely.

flourishes

And of course, there’s the trim that’s going up pretty much everywhere. It adds so much to this little sheepwagon!

We’ll keep the photos coming and will show you the custom door we’ve been working on, too. More to come!

#fancypantsy #cheapskates #newandold

Welcome Lights

The Artist has some aesthetic trends (ex: red velvet, warm metallic tones, old stuff), but he often makes designs based off of one item. The sheepwagon’s design, believe it or not, was inspired by a set of antique copper lights. The Artist has had the lights for years and they used to be hung up in our bedroom. Now, they will be the thing that welcomes everyone into our new home. Here’s a glimpse!

welcomehome

#welcomewelcome #oneandall

Exciting New Siding!

This is exciting… We’ve got siding!

The Artist and I have gone back and forth quite a bit on how to side our little sheepwagon. We wanted to keep this sucker cheap, but we also need to make sure we’re building a home that will last. We originally planned to put plywood over the house wrap, then side over the plywood. But when we went into the local building supply store, we changed our minds.

We ultimately decided to use T1-11. I had never heard of it until the supply store suggested it. But it ended up being the perfect all-in-one option we’d been looking for. It’s essentially plywood that’s been fancied up a bit. It comes in 4″ wide or 8″wide pieces, and it’s designed to look like siding. It is, in a word, perfect.

excitingnewsiding

We had quite an ordeal ordering it (out of the right size, we settled for the other size, then the right size was found, so we returned the wrong size, then we couldn’t use our coupon (THE HORROR!)), but eventually it was all settled and we got it all home. Putting the siding up was, arguably, the most difficult part of this whole process. But I would say that it also had the biggest payoff. To see our tiny house all sided makes it feel real. Here’s a sneak peek for you!

#walledin #sidingexciting